Getting Started with DebugKit
DebugKit Runtime requires Unity 2022.3 LTS or newer. It is fully optimized for Unity 6.
Installation
-
Import the package
Install DebugKit Runtime via the Unity Asset Store or by importing the package into your project. -
Optional: Create DebugKit Settings
- Open the settings window via Tools → DivinityCodes → DebugKit Runtime.
- Navigate to the Integration tab to manage how the tool behaves in your builds:
- Enable In Builds: Master toggle to include or exclude the toolkit from your exported application.
- Development Builds Only: When checked, DebugKit will automatically strip itself from "Release" builds, ensuring end-users never see the debug panel.
- Prefab Path: Confirms the location of the
DKManagerprefab. The auto-bootstrap system uses this path to spawn the toolkit into your first scene automatically.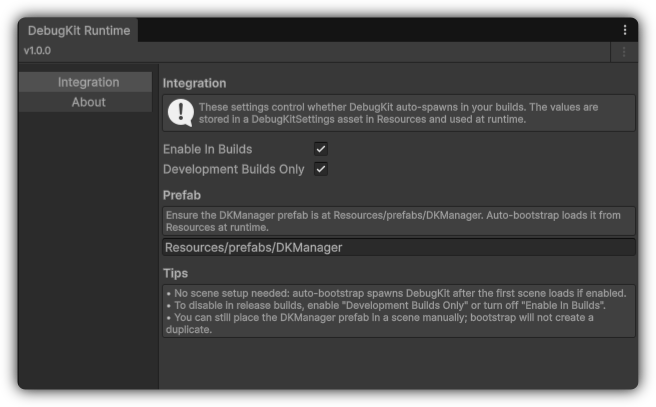
-
Build
Create your build via the Build Profiles or Build Settings window. DebugKit will auto-spawn after the first scene loads, provided your Integration settings match the build type (e.g., Development vs. Release). No manual scene placement is required.